
Strip Paver Sealer Right: 10 by 10 Workflow for Capital Region Homes
Strip paver sealer whenever the old coating is peeling, whitening, or flaking, using a dedicated chemical sealer stripper and a small test patch before you tackle the whole patio. For a small porch or walkway, this is a weekend DIY job. For large driveways, unknown sealer types, or anywhere runoff could hit a storm drain, hire a contractor who handles containment and disposal correctly.
Quick Summary:
- Only use chemical stripper on sealer that is peeling, flaking, or turning white, as applying new sealer over failing layers causes quick re-failure.
- Water and tape adhesion tests help determine if the existing sealer needs removal; a milky film or flaking tape indicates stripping is necessary.
- Water-based, solvent-based, gel, and liquid strippers suit different conditions; choose based on sealer type, thickness, and exposure to sun or shade.
- Proper preparation includes testing patches, keeping stripper wet for the recommended dwell time, and rinsing with medium-pressure pressure washing to avoid surface etching.
- Containment of runoff and safety precautions are critical, especially for large jobs near storm drains, and professional assistance ensures thorough removal and resealing for long-lasting results.
Table of Contents
- How Do You Know Your Pavers Need Sealer Stripped?
- What Removal Method Should You Use?
- Step-by-Step: How to Strip Paver Sealer the Right Way
- How Do You Keep the Job Safe and Contain the Runoff?
- What Comes After Stripping: Drying, Sanding, and Resealing
- What Mistakes Do Homeowners Make Most Often?
- When Does Hiring a Contractor Make More Sense?
- Why Most Homeowners Overthink the Chemistry and Underthink the Process
- Skip the Guesswork: Let Capital Pro Handle the Strip and Reseal
- Manufacturer Guides Worth Bookmarking
- Sources
- FAQ
How Do You Know Your Pavers Need Sealer Stripped?
Cosmetic wear and true film failure look similar from across the yard but demand different fixes. A dull, faded sealer just needs cleaning and a fresh coat. A failing sealer, one that’s turned milky white, is peeling in sheets, or shows patchy gloss next to dead flat spots, has to come off completely first. Applying new sealer over that failing layer causes it to bond to the old film instead of the paver, which almost guarantees a second failure within months.
A few quick checks separate the two situations:
- Water porosity test: splash water on the surface. If it beads up, sealer is still active. If it soaks in unevenly, the film has broken down in spots.
- Tape adhesion test: press strong tape onto a suspect area and pull it fast. Sealer flaking off with the tape means it’s already failing.
- Small chemical spot test: dab stripper on a hidden corner. If the surface whitens or the coating lifts within minutes, you’re dealing with a film that has to be stripped, not just cleaned.
Trapped efflorescence, that chalky white haze under the sealer, is another giveaway. It means moisture got sealed in and the film is trapping vapor instead of shedding water, and no amount of extra coats fixes that.
What Removal Method Should You Use?
Not every stripper works the same way, and picking the wrong one wastes a Saturday. The right choice depends on the sealer type, how thick the buildup is, and whether the pavers are in sun or shade.
- Water-based strippers work slower but are gentler on the substrate and easier on nearby landscaping, making them the better eco-friendly paver sealer option for light, single-coat builds.
- Solvent-based approaches can reflow certain acrylic films, essentially melting them back into a liquid you can wipe or rinse away, but a straight solvent alone often isn’t strong enough to cut through several stacked coats.
- Gel formulas cling to vertical surfaces and shaded, damp areas where a liquid would just run off before it can work.
- Liquid formulas cover flat, sun-exposed patios faster and are easier to spread evenly across a large section.
- Mechanical methods, meaning pressure washing and scraping, come after the chemical step, not instead of it. Trying to blast off a stubborn sealer with pressure alone tends to etch the paver surface without fully removing the coating.
Product pages for dedicated strippers, like Colorback’s paver sealer stripper, note compatibility with both oil-based and water-based sealers, which matters since most homeowners have no idea which type is on their patio.
Step-by-Step: How to Strip Paver Sealer the Right Way
- Prep the work zone. Clear furniture and planters, wet down surrounding grass and shrubs, cover storm drains, and break the job into small sections, roughly 10 by 10 feet at a time.
- Gather your tools and PPE. You’ll need a pump sprayer or roller, a stiff non-metal brush, a pressure washer, chemical-resistant gloves, eye protection, and closed-toe boots.
- Run a test patch first. Apply stripper to a hidden corner and watch how the surface reacts before committing the whole patio to one product.
- Apply the stripper and let it dwell. Follow the label, but expect dwell times around 20 to 30 minutes for many products, sometimes stretching past an hour for thick, multi-coat buildup. Watch for a white haze forming on the surface, that’s your signal the sealer is breaking down.
- Keep it wet the entire time. Letting stripper dry mid-dwell is the single most common DIY mistake, and it turns into a sticky, harder-to-remove residue instead of finishing the job.
- Agitate. Scrub with the stiff brush to work the loosened sealer free, focusing on any spots that still look glossy.
- Rinse at medium pressure. Pressure-wash the section to flush away the dissolved film, following homeowner safety guidelines for concrete pressure washing to avoid damaging the surface. Avoid cranking the pressure high enough to etch the paver itself.
- Repeat if needed. Multiple coats of old sealer often mean multiple passes with stripper before the surface tests clean.
- Verify before you move on. Run the porosity and tape adhesion tests again. If the paver drinks water evenly and nothing lifts with tape, you’re done with that section.
- Let it dry. Give the stripped area 24 to 48 hours before re-sanding joints or applying new sealer.
How Do You Keep the Job Safe and Contain the Runoff?
Strippers are industrial chemicals, and treating them casually is how lawns die and neighbors complain. Gloves, eye protection, and closed boots are non-negotiable, and if you’re using a solvent-based product, work outdoors or with fans running so fumes don’t build up in an enclosed patio corner.
Containment matters as much as the chemistry. Professionals work in small, contiguous sections and use sand berms or portable interceptors to keep rinse water from spreading across the yard or reaching a storm drain. A few habits worth borrowing:
- Cover or dam nearby storm drains before you start.
- Sand-bag or berm the low edge of the work area to slow runoff.
- Collect concentrated rinse water in a bucket where local rules require it, rather than letting it sheet off into soil or a drain.
- Read the product’s safety data sheet for disposal instructions. Some strippers require neutralizing before disposal, others just need dilution.
If you’re stripping a large driveway, a commercial lot, or you’re not sure what’s downhill from the runoff, that’s the point where hiring a professional paver cleaning and sealing service starts making more financial sense than a DIY afternoon that turns into a cleanup problem.
What Comes After Stripping: Drying, Sanding, and Resealing
Stripping is only half the job. What you do in the 48 hours after determines whether the new sealer actually lasts.
- Let the surface dry fully, typically 24 to 48 hours depending on humidity, before doing anything else. Run a quick porosity check: if water still beads oddly in spots, give it another day.
- Re-sand the joints. Stripping and pressure washing displace joint sand, and that sand is structural, not decorative. Without it, pavers shift and edges chip. Polymeric sand is the common choice for joint stabilization because it locks in place once activated.
- Pick a compatible sealer. Penetrating sealers soak in and leave a natural look; film-forming sealers sit on top and add sheen but are more prone to the peeling problem you just fixed. Run a small recoat test patch before committing to the whole surface.
- Wait for the right weather. Dry, mild conditions with no rain forecast for at least 24 hours after application give the sealer the best shot at curing properly.
What Mistakes Do Homeowners Make Most Often?
Most stripping failures trace back to a handful of repeat mistakes, not bad products.
- Letting the stripper dry out mid-dwell instead of keeping the surface wet the whole time.
- Cranking the pressure washer too high, which etches the paver instead of just rinsing off dissolved sealer.
- Skipping the re-sanding step and wondering why joints crumble a season later.
- Resealing before the surface has fully dried, which traps moisture under the new coat and starts the whole failure cycle over again.
Pro Tip: Photograph each test patch before and after the stripper dwell time. It sounds excessive, but comparing photos side by side is the fastest way to confirm a section is actually clean before you move to the next one.
Solvent reflow can be a legitimate shortcut for a single thin coat that’s just dulled, not peeling. But once you see flaking or white patches, commit to a full strip; a reflow won’t fix a coating that’s already failing structurally.
When Does Hiring a Contractor Make More Sense?
Scale changes the math fast. A single small patio is manageable with a sprayer and a weekend. A full driveway, a commercial walkway, or pavers where you genuinely don’t know what sealer was used the first time around are different situations, especially with runoff near storm drains or planting beds.
A quality contractor brings correct stripper selection for the sealer type, proper containment so nothing runs off-site, full re-sanding, and a professional-grade reseal rated for years, not months. That combination is where most DIY jobs fall short, not in the chemistry itself but in the containment and follow-through.
Why Most Homeowners Overthink the Chemistry and Underthink the Process
The chemistry of sealer strippers gets treated like the hard part, when it usually isn’t. Most name-brand strippers work fine if you follow the label. What actually separates a clean strip job from a redo six months later is sequencing: working small sections, keeping the surface wet the entire dwell time, and re-sanding before resealing.
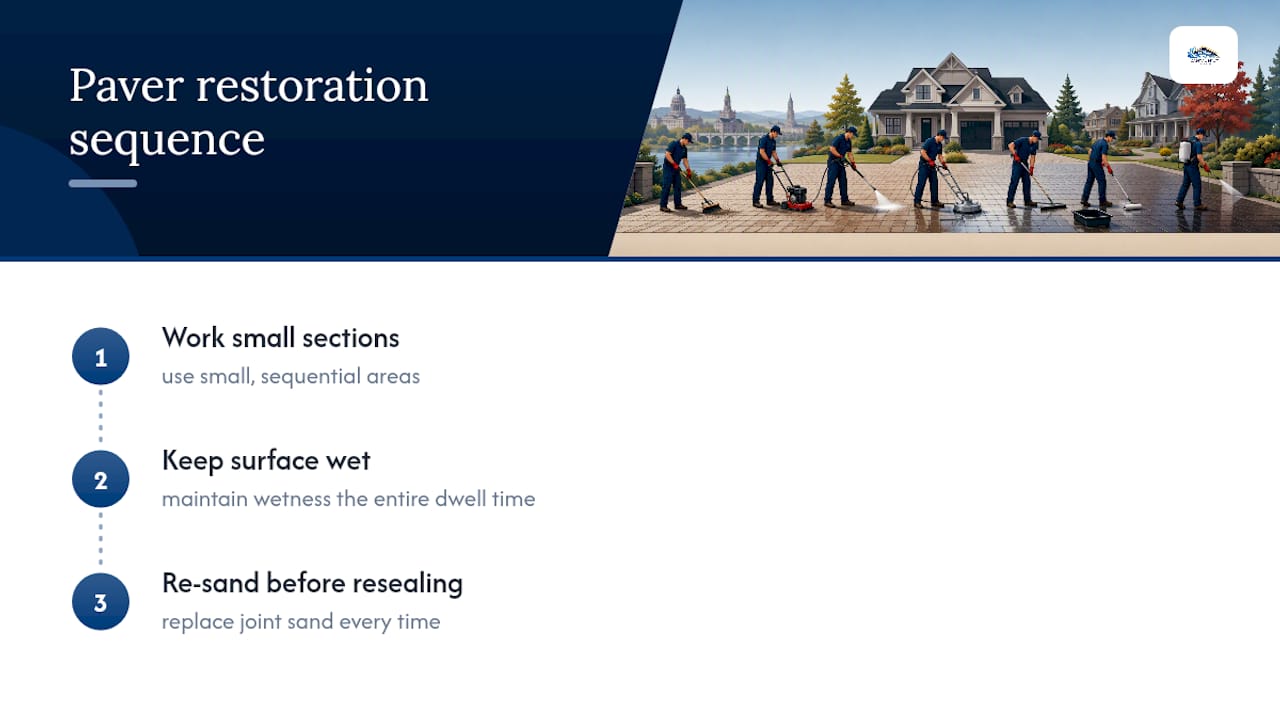
Conventional advice online tends to obsess over which brand of stripper is “best” and skips the boring parts, like how joint sand is structural and needs replacing every time, or how resealing over a surface that isn’t fully dry just repeats the original failure. Those details matter more than brand choice.
If there’s one priority to take from this, it’s patience with dwell time and drying windows. Rushing either step is what turns a good product into a wasted afternoon. The workflow matters more than the bottle you grab off the shelf.
— Luis T
Skip the Guesswork: Let Capital Pro Handle the Strip and Reseal
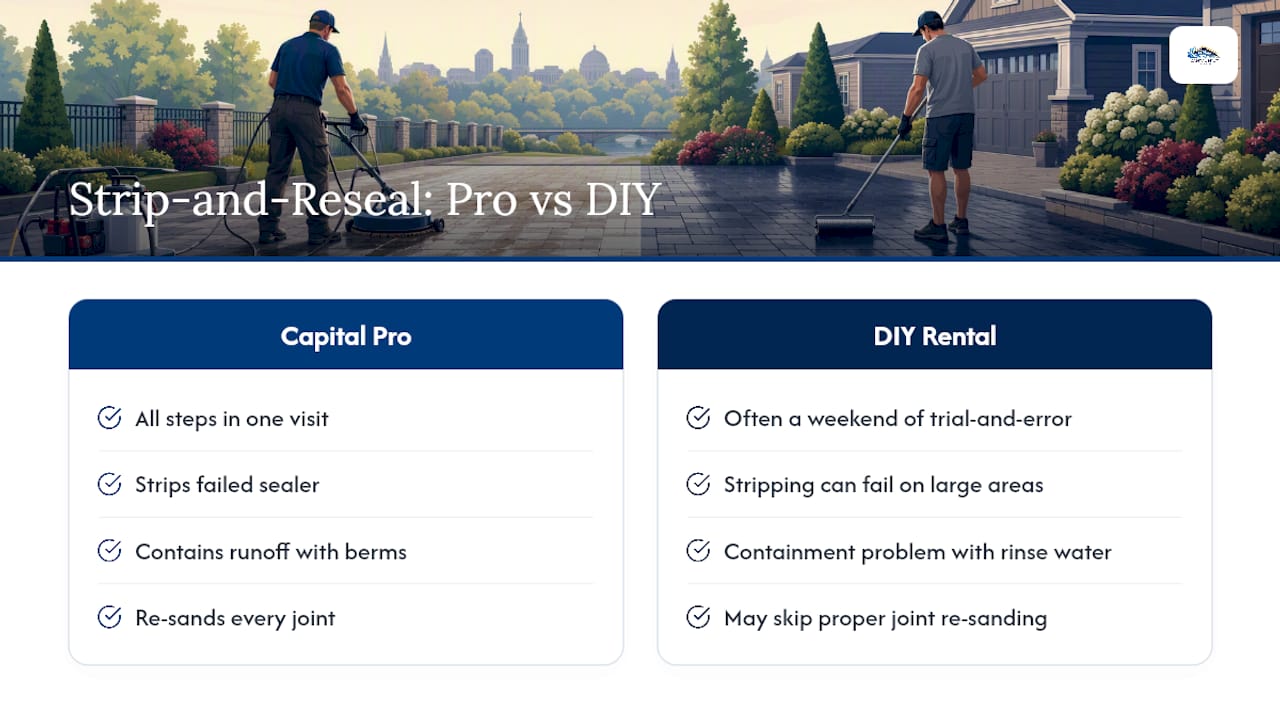
Capital Pro Pressure Washing strips failed sealer, contains the runoff properly, re-sands every joint, and applies a fresh professional-grade seal, all in one visit instead of a weekend of trial and error with rental equipment.

Homeowners across the Capital Region call us specifically because DIY stripping jobs on large driveways or commercial lots almost always run into the containment problem: where does the rinse water actually go? We handle that with proper sand berms and collection so nothing ends up in a storm drain or a neighbor’s yard. Our paver sand and seal service covers the full workflow, stripping, re-sanding with polymeric sand, and a reseal built to hold up through winter freeze-thaw cycles.
If you’re not sure whether your patio needs a full strip or just a fresh coat, check our pricing guide for what a typical strip-and-reseal job runs, then reach out for a free estimate on your specific pavers.
Manufacturer Guides Worth Bookmarking
Before you buy a stripper, check the label instructions for your exact product, dwell times and dilution ratios vary. Useful references: Paver Sealer Remover application steps and Seal King Strip-All product details.
Sources
- Can I use DOMINATOR Sealers on previously sealed pavers?
- How to Use Paver Sealer Remover (PSR)
- Gator cleaners technical document: sealer strip guidance
- Colorback Paver Sealer Stripper
FAQ
Is There a Downside to Sealing Pavers?
Yes. Sealing can trap moisture under the film and requires reapplication every few years, and poor prep work often leads to the whitening or peeling that eventually forces a strip job.
Can You Apply Paver Sealer Over Old Sealer?
Only if the old sealer is still sound and passes a tape adhesion test. Applying fresh sealer over a peeling or whitened film causes the new coat to bond to the failing layer instead of the paver, leading to fast re-failure.
What Is the Best Sealer to Put on Pavers?
It depends on the look you want and the substrate: penetrating sealers hold a natural finish and resist trapping moisture, while film-forming sealers add sheen but are more prone to peeling over time. A professional-grade product applied by a service like Capital Pro Pressure Washing after proper stripping and re-sanding tends to outlast most DIY applications.
Will Acetone Strip Concrete Sealer?
Acetone alone can help reflow certain thin acrylic coatings, but it typically isn’t strong enough on its own for full sealer removal. A dedicated chemical sealer stripper with proper dwell time and agitation is the more reliable approach for anything beyond a light single coat.
Recommended
Services Related To This Article
Need a quote in the Capital Region?
Fast, free estimates from a local, licensed & insured team.
