
Paver Joint Stabilization: Choose the Right Method
For most home patios and walkways, polymeric sand is the right call. It’s durable, widely available, and handles the freeze-thaw cycles that are common across New York and the Northeast. If your joints are already filled with compacted sand and you just want to lock things down without disturbing them, a liquid joint stabilizer is a solid second option. Do you need both surface protection and joint binding in one step? A combined sealer-stabilizer product gets you there, though with some trade-offs.
Your three practical options:
- Polymeric sand: Best for new installations or joints that need to be fully re-sanded. Activates with water and cures into a firm, erosion-resistant joint.
- Liquid joint stabilizer: Applied over existing compacted joint sand. Penetrates and binds without disturbing the surface. Good for maintenance situations.
- Combined sealer-stabilizer: One-step product that seals the paver face and partially locks the joint. Convenient, but limited in depth of stabilization.
Pro Tip: The single most common DIY failure isn’t the product choice. It’s skipping a thorough surface cleaning before application. Dirty or damp pavers cause adhesion failures and surface haze that can be nearly impossible to remove after the product cures.
Table of Contents
- Which stabilization method fits your project?
- How do you decide which method is right for your pavers?
- How to apply polymeric sand the right way
- How to apply a liquid joint stabilizer or sealer-stabilizer
- How long do stabilized joints last, and what can go wrong?
- When does hiring a pro make more sense than DIYing?
- Key Takeaways
- What most guides get wrong about paver joint stabilization
- Capital Pro Pressure Washing handles the hard part for you
- Useful sources and where to learn more
- FAQ
Which stabilization method fits your project?
The Concrete Masonry & Hardscapes Association notes that joint sand stabilization is often optional for interlocking concrete pavers, since sand naturally consolidates over time as atmospheric fines migrate into joints. That said, if you’re dealing with erosion, weeds, or shifting pavers, one of these three approaches will address it.
Polymeric sand
Polymeric sand is a graded aggregate blended with water-activated binders. Sweep it into dry joints, compact it, then activate it with a shower-style mist. When properly installed and activated, it creates a cohesive joint that resists erosion and helps maintain interlock between pavers. It works best in joints between 1/4 inch and 1.5 inches wide, though you need to confirm the specific product’s TDS for exact limits.
Liquid joint stabilizer
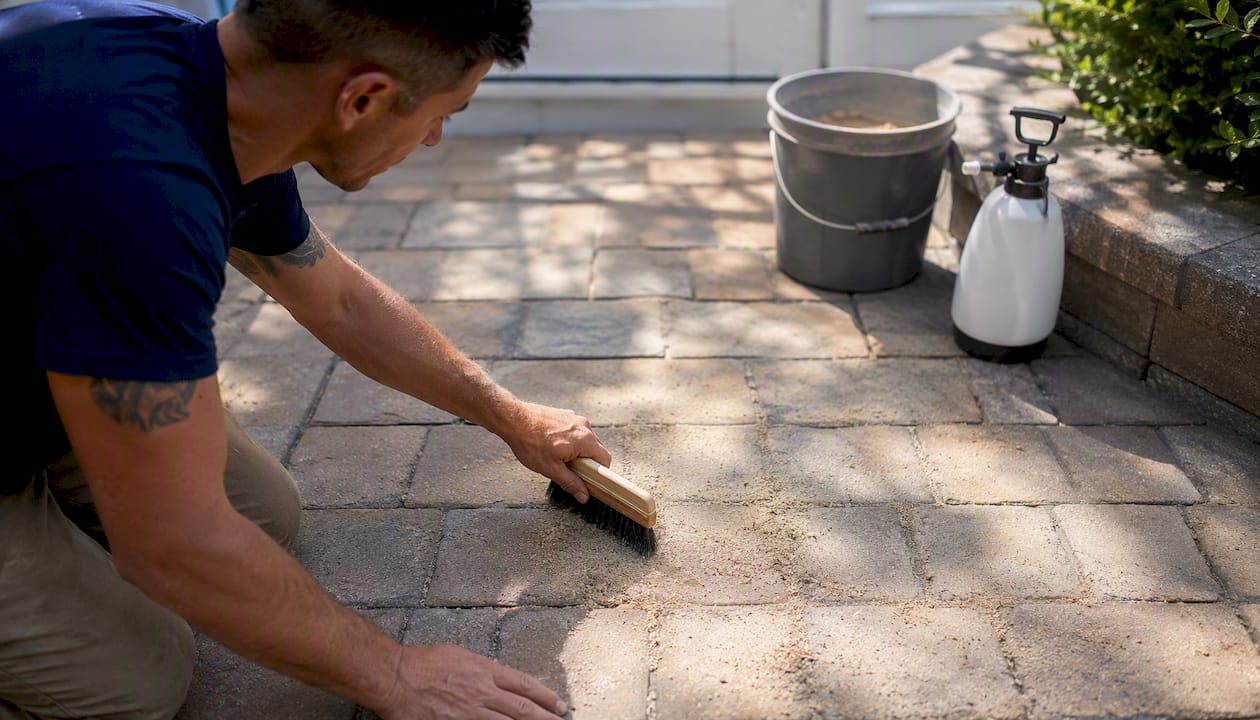
Liquid stabilizers are applied over existing, dry, compacted joint sand. They penetrate the joint and bind grains together; some products also claim weed inhibition or water repellency as added benefits. They’re the right choice when you don’t want to excavate and re-sand existing joints. Compatibility with your specific paver type matters here, so check the TDS before committing.
Combined sealer-stabilizer
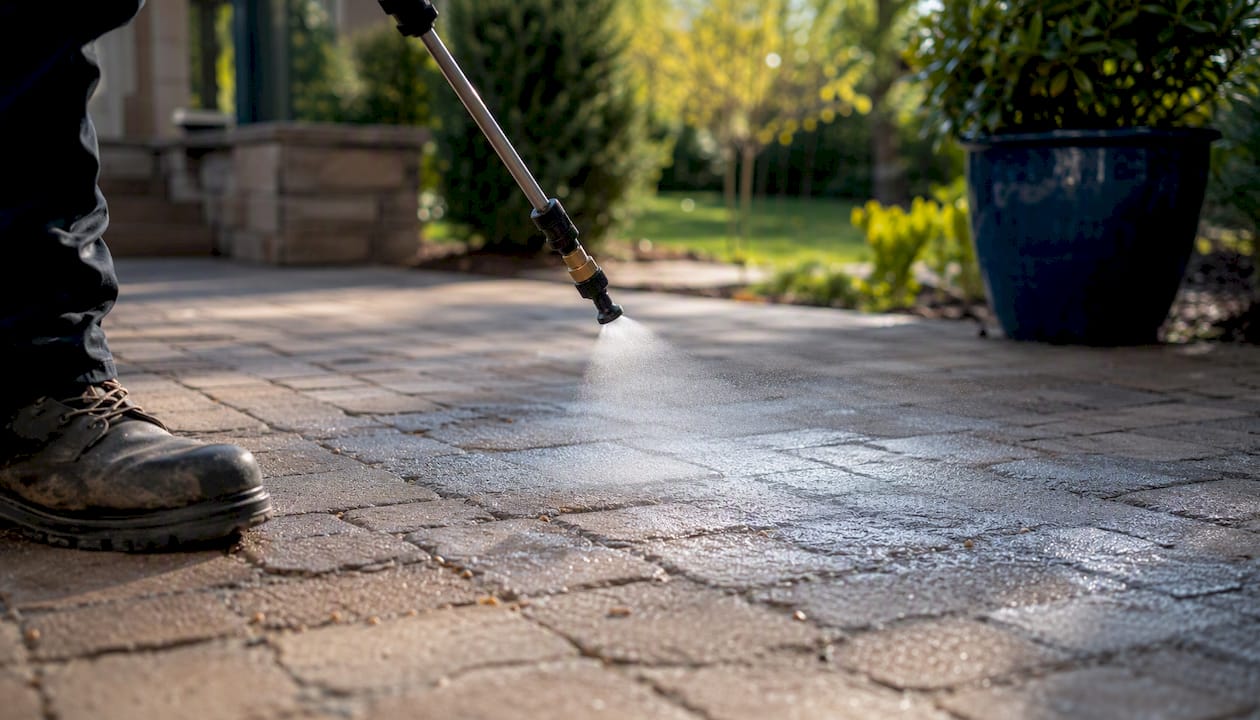
These one-step products coat the paver surface and partially lock the joint simultaneously. The catch: they typically harden only the top portion of the joint sand and may be the right choice when limited stabilization and color enhancement are the goal. Retail options like the Glaze-N-Seal Clear Paver Sealer and Sand Stabilizer are marketed as easy, one-step solutions for homeowners.
| Feature | Polymeric sand | Liquid stabilizer | Sealer-stabilizer combo |
|---|---|---|---|
| Stabilization depth | Full joint depth | Full joint depth | Top layer only |
| Haze risk | Moderate (if not cleaned) | Low to moderate | Low |
| Reworkability | Difficult once cured | Moderate | Easier |
| Best joint width | 1/4"–1.5" (check TDS) | Varies by product | Narrow joints |
| Effort level | Higher | Moderate | Lower |
| Cost | Moderate | Moderate to high | Moderate |
Not all polymeric sands or liquid stabilizers are compatible with every paver type or joint width. Always verify the product TDS before purchasing.
How do you decide which method is right for your pavers?
Work through these steps before buying anything.
- Measure your joint width. Use a tape measure or a coin as a rough gauge. Most polymeric sands specify a minimum and maximum joint width on the TDS. Too narrow and the binder can’t penetrate; too wide and it won’t hold.
- Check joint depth. Shallow joints (under 1 inch) may not hold polymeric sand well. Liquid stabilizers handle shallow joints better.
- Assess surface texture. Tumbled or textured pavers trap polymeric sand in surface pores, which increases haze risk. Smooth pavers are easier to clean before activation.
- Evaluate slope and drainage. Poor drainage accelerates joint erosion and can undermine any stabilization product. If water pools on your patio, fix the drainage first.
- Identify traffic type. Pedestrian patios tolerate all three methods. Vehicular driveways need polymeric sand or a dedicated stabilizer, not a combo product.
Red flags that mean you should hire a pro instead of DIYing:
- Pavers are shifting, rocking, or sinking (base failure, not a joint problem)
- Joints are wider than 1.5 inches or highly irregular
- There’s visible efflorescence, deep staining, or mold across a large area
- Poor drainage that hasn’t been corrected
- The project covers a large vehicular driveway
If you’re hiring a contractor, ask for:
- The specific product and its TDS
- Their cure window and rain-free requirement
- Proof of insurance and a written warranty or repair policy
- Before/after photos from similar jobs
How to apply polymeric sand the right way
Get this wrong and you’ll spend a weekend scrubbing haze off your pavers. Get it right and the joints hold for years.
- Clean the surface thoroughly. Remove all organic debris, moss, and existing loose sand. Pressure wash if needed, then let the pavers dry completely. Damp pavers are the enemy of a clean activation.
- Inspect and prep joints. Remove old, failing joint material down to a stable depth. Joints should be clean and dry before any sand goes in.
- Pour and sweep sand into joints. Work in small sections. Use a push broom to sweep sand diagonally across the joints, filling them completely.
- Compact. Run a plate compactor (with a protective pad) over the pavers to settle the sand. Add more sand and compact again until joints are filled to within 1/8 inch of the paver top.
- Clean paver faces. Blow off all surface sand with a leaf blower. Every grain left on the paver face can cause haze after activation. This step is non-negotiable.
- Activate with a misting technique. Use a garden hose set to a gentle shower or mist setting. Over-watering is the primary cause of polymeric sand failure; mist until the sand stops accepting moisture rather than flooding the joints. Work in sections, moving slowly.
- Allow to cure. Keep foot traffic off for at least 24 hours. Check the TDS for the full cure window and rain-free requirement, which varies by product and temperature.
Common mistakes to avoid:
- Applying on a day with rain in the forecast
- Skipping the compaction step (sand settles and leaves gaps)
- Leaving surface sand before activation (causes haze)
- Using the wrong sand for your joint width
- Working in temperatures below 32°F or above 95°F
Pro Tip: If you do get haze, act fast. Most polymeric sand haze can be removed with a diluted efflorescence cleaner while it’s still fresh. Once it fully cures, removal is much harder and may require an acid wash.
How to apply a liquid joint stabilizer or sealer-stabilizer
The workflow here is different from polymeric sand, and the margin for error is narrower on the surface side.
- Prep the joints. Joints must be dry, compacted, and free of organic debris. Blow out loose material and let the area dry for at least 48 hours after any rain or cleaning.
- Protect surrounding surfaces. Cover nearby plants, grass, and any surfaces you don’t want coated. Liquid stabilizers can stain concrete curbs and landscaping materials.
- Run a compatibility test. Apply the product to a small, inconspicuous area first. Check for discoloration, haze, or adhesion issues after the cure window before committing to the full surface.
- Apply with a low-pressure sprayer. Use a fan-tip nozzle to apply the product evenly across the joints. Professional best practice follows a spray-squeegee-back-roll workflow, working in 100–150 sq ft sections to prevent haze and ensure even penetration.
- Squeegee and back-roll. After spraying a section, use a squeegee to work the product into joints, then back-roll with a microfiber roller to remove surface excess and prevent pooling.
- Allow to cure. Most products require 24–48 hours of dry weather. Check the TDS for the exact rain-free window.
Common pitfalls:
- Applying on damp joints (product won’t penetrate; it pools on the surface)
- Over-applying (causes a milky haze that’s difficult to remove)
- Skipping the back-roll (leaves surface residue)
- Ignoring the TDS compatibility notes for your specific paver type
Pro Tip: Work in the shade or on a cool day. Heat accelerates drying and can cause the product to skin over before it penetrates the joint fully, leaving a surface film instead of a bound joint.
How long do stabilized joints last, and what can go wrong?
Polymeric sand, when properly installed, typically lasts several years before needing attention, though high-traffic areas or poor drainage can cut that shorter. Liquid stabilizers vary more by product and conditions. Freeze-thaw cycles, heavy vehicle traffic, and sprinkler systems aimed directly at joints are the fastest ways to shorten lifespan.
Inspection checklist (do this once a year):
- Look for gaps or low spots in joints (sand has settled or washed out)
- Scratch the joint surface with a key or screwdriver. If sand comes loose easily, the bond has failed.
- Check for weed growth, which signals joint failure or incomplete coverage
- Look for surface haze or discoloration that wasn’t there before
Fixing common problems:
- Haze: Apply a diluted efflorescence cleaner or a product-specific haze remover. Test in a small area first. Avoid acid cleaners on natural stone.
- Washed-out joints: Remove remaining loose sand, let the area dry fully, and re-sand. Don’t apply new product over wet or failing material.
- Weeds: Pull them, treat the joint with a targeted weed killer if needed, then re-stabilize once the area is dry and clear.
- Widespread joint failure: If more than a third of your joints are failing, a full re-sand is more cost-effective than patching.
Maintenance practices that extend joint life:
- Avoid high-pressure washing directly into joints. A surface clean at lower pressure is fine.
- Route sprinkler heads away from paver joints.
- Re-seal the surface every 2–3 years to reduce water infiltration into joints.
Joint products help a good system perform better, but they don’t fix structural problems. If your base is soft or your edge restraints are failing, no paver joint filler will hold long-term.
When does hiring a pro make more sense than DIYing?
Some situations are straightforward DIY territory. A small backyard patio with stable pavers and clean joints? You can handle that with a bag of polymeric sand and an afternoon. But a few scenarios tip the math toward hiring someone.
Hire a pro when:
- Pavers are shifting or the base is compromised (a joint product won’t fix this)
- The project is a vehicular driveway with wide joints and heavy load requirements
- There’s extensive staining, efflorescence, or biological growth across the surface
- Access is tight or the patio layout is complex
- You want a warranty on the finished result
What a professional service actually does differently:
A pro brings pre-cleaning with soft-wash or pressure washing, which removes contaminants that would otherwise cause adhesion failures. They use professional application tools: airless or low-pressure fan-tip sprayers, squeegees, and back-rollers that apply product evenly without the haze risk that comes from a consumer pump sprayer. They also run small-area compatibility tests before committing to the full surface, and they document the products and TDS references used.
Capital Pro Pressure Washing’s paver cleaning and sealing service follows this full workflow: clean, test, stabilize, inspect, and seal with a surface-compatible product. That sequence matters because skipping the pre-clean is the most common reason a DIY stabilization job fails within the first season.
Questions to ask any contractor before hiring:
- Which specific product do you use, and can I see the TDS?
- What’s the rain-free window after application?
- Are you insured, and do you offer a warranty or repair guarantee?
- Can you show me before/after photos from a similar project?
Pro Tip: Ask the contractor to walk you through their small-area test process. A pro who skips compatibility testing on your specific paver type is cutting a corner that can cost you a full redo.
Key Takeaways
Polymeric sand is the most durable DIY option for most homeowners, but the right method depends on joint width, traffic, and whether your base is structurally sound.
| Point | Details |
|---|---|
| Inspect joints first | Check joint width, depth, and base stability before choosing any product. |
| Match product to TDS specs | Confirm joint-width limits and paver compatibility on the product’s Technical Data Sheet before buying. |
| Watering technique matters | Mist polymeric sand with a shower setting until it stops accepting water; flooding washes out the binder. |
| Test before full application | Always apply liquid stabilizers or sealer-stabilizers to a small area first and check for haze or adhesion issues. |
| Capital Pro Pressure Washing | For Capital Region homeowners who want a professional result, Capital Pro’s paver cleaning and sealing service covers the full workflow from pre-clean to final seal. |
What most guides get wrong about paver joint stabilization
The conventional advice is to pick a product, follow the label, and call it done. That framing misses the part that actually determines whether the job holds.
The real failure point isn’t the product. It’s the surface condition before the product goes down. Joints that haven’t been properly cleaned, pavers that are still damp from a rain two days ago, or a base that’s been slowly shifting for a season — none of that gets fixed by a better bag of polymeric sand. What you’re actually doing when you stabilize paver joints is locking in whatever condition the system is already in. If that condition is good, the product performs well. If it isn’t, you’re sealing in the problem.
The other thing guides understate is the difference between pedestrian and vehicular applications. A backyard patio and a driveway are not the same project. The load, the freeze-thaw stress, and the drainage demands are categorically different. A combined sealer-stabilizer that works fine on a lightly used patio will fail on a driveway within a season or two. That’s not a product failure. It’s a specification failure.
The TDS is the document that tells you whether your project falls inside or outside a product’s design envelope. Most homeowners never read it. That’s the gap between a stabilization job that holds for five years and one that needs to be redone the following spring.
Capital Pro Pressure Washing handles the hard part for you
Paver cleaning and joint stabilization done right takes more than a bag of sand and a garden hose. It takes a clean, dry, structurally sound surface, the right product matched to your specific pavers, and an application technique that prevents haze and ensures full joint penetration.
Capital Pro Pressure Washing is a veteran-owned exterior cleaning company serving the Capital Region of New York, with over 10 years of experience on residential paver patios, driveways, and walkways. The paver cleaning and sealing service covers the full sequence: soft-wash pre-clean to remove mold, mildew, and staining; joint inspection and re-sanding where needed; professional-grade stabilizer or sealer application; and a final inspection before the job is called done. Every project comes with a satisfaction guarantee.
If you’re in the Capital Region and want a professional assessment of your pavers before committing to a DIY approach, get a free estimate. You can also review paver sealing cost factors to understand what to budget before you call.
Useful sources and where to learn more
Before you buy any product or start any application, read the TDS. That single document tells you whether the product is right for your joint width, your paver type, and your weather window. Keep it on hand while you work.
Key references:
- PAV-TEC 005 (Concrete Masonry & Hardscapes Association)
- Applying polymeric sand to an existing patio or walkway | Sakrete
- Demystifying polymeric sand | Hardscape Magazine
- Joint Stabilising for Paving | Pavingexpert
- Paver Joint Sand Stabilizer 101: Spray, Squeegee, Back-Roll | Hardscape Mentor
- Polymeric Sand: How to Apply It and Avoid Paver Joint Sand Mistakes | Rochester Concrete Products
- How to Stabilize Pavers | DIY Guide & Pro Tips | Black Diamond Coatings
- 1 Gal. Clear Paver Sealer and Sand Stabilizer | Home Depot
- Paver Cleaning & Sealing | Capital Pro Pressure Washing
FAQ
Does polymeric sand actually stabilize paver joints?
Yes. Polymeric sand contains water-activated binders that, when properly installed and activated, create a firm joint that resists erosion, weed growth, and ant activity. The key is correct watering technique and thorough surface cleaning before activation.
What are the downsides of polymeric sand?
The main risks are surface haze (from sand left on paver faces before activation) and washout (from over-watering or rain during the cure window). It’s also difficult to remove once cured, so re-sanding requires excavating the joint.
How do you seal the joints between pavers?
Clean and dry the joints, fill with polymeric sand or apply a liquid stabilizer, then apply a compatible paver sealer over the surface once the joint product has fully cured. Some combined sealer-stabilizer products handle both steps in one application.
How do you make pavers more stable overall?
Joint stabilization helps, but overall paver stability depends on the base. If pavers are rocking or sinking, the base or edge restraints need repair before any joint product will hold. Fix the structure first, then stabilize the joints.
When should you hire a pro instead of doing it yourself?
Hire a professional when pavers are shifting, the base is compromised, the project is a vehicular driveway, or there’s extensive staining across a large area. Capital Pro Pressure Washing offers paver cleaning and sealing for homeowners in New York’s Capital Region who want a guaranteed result.
Recommended
Services Related To This Article
Need a quote in the Capital Region?
Fast, free estimates from a local, licensed & insured team.
