
Gutter Guard Cleaning: What Actually Keeps Them Working
Gutter guards greatly reduce how often you need to dig debris out of your gutters, but they do not eliminate maintenance. The single most reliable habit: a visual inspection plus light surface cleaning at least once a year, ideally twice. This Old House’s hands-on testing found that guards reduced clogs for a majority of surveyed homeowners, improved water flow for a significant portion, and cut cleaning frequency for nearly half. Meaningful numbers, but notice what they don’t say: zero maintenance.
Here’s your immediate action checklist before you read further:
- Check the ground around your downspouts after the next rain. Pooling water is the fastest sign something is blocked.
- Walk the perimeter and look up at the guard surface. Visible debris mats, sagging sections, or plant growth are all red flags.
- Confirm your downspouts are clear by running a garden hose into the gutter and watching for flow at the outlet.
Pro Tip: If you haven’t looked at your guards since installation, do a quick visual check this weekend. Most problems caught early take 20 minutes to fix. Ignored for a season, they can mean water damage repairs.
Key Takeaways
Gutter guards reduce cleaning frequency significantly, but a twice-yearly inspection and light surface cleaning remain necessary to prevent overflow and structural damage.
| Point | Details |
|---|---|
| Guards reduce, not eliminate, maintenance | Testing shows nearly half of homeowners clean less often, but surface debris still accumulates. |
| Inspect regularly each year minimum | Late spring and late fall are the baseline; add checks after major storms or near heavy tree cover. |
| Use ladder-free tools for safety | Extension-pole brushes, gutter wands, and leaf blower kits handle most single-story cleaning from the ground. |
| Match tools to guard type | Brush inserts need frequent brushing; mesh needs rinsing; helmet-style guards often need professional removal. |
| Capital Pro Pressure Washing | Handles gutter guard cleaning, guard removal/refit, and roof washing for Capital Region homeowners who shouldn’t DIY. |
Table of Contents
- How often should you inspect and clean gutter guards?
- Step-by-step: how to clean gutter guards safely
- The best ladder-free tools for cleaning gutter guards
- How maintenance needs differ by gutter guard type
- Safety checklist and common mistakes to avoid
- When to call a professional for gutter guard service
- What professionals actually see most often
- Capital Pro Pressure Washing handles what you shouldn’t DIY
- Sources
- FAQ
How often should you inspect and clean gutter guards?
The baseline is regularly each year: late spring after pollen and seed season, and late fall after the leaves drop. Quality First Home Improvement recommends at least biannual cleaning, with more frequent attention near heavy tree cover. That’s the floor, not the ceiling.
Several situations push the schedule earlier:
- Pine-needle neighborhoods. Needles are thin enough to slip through many guard types and compact fast. Check monthly from October through December if you have pines overhead.
- Recent major storms. High winds deposit shingle grit, twigs, and wet leaf mats that won’t blow off on their own. Inspect within a week of any significant storm.
- Nearby construction. Sawdust and debris travel farther than you’d expect and clog fine-mesh guards quickly.
- Visible overflow during rain. Water spilling over the front edge of the gutter is the clearest possible signal that something is blocked.
- Sagging gutters. Weight from compacted debris or standing water bends the channel over time.
- Plants growing in the gutter channel. Seeds germinate in the debris layer on top of guards. If you see green growth, the buildup is thick enough to support root systems.
- Downspout backup. Water that backs up into the gutter instead of draining down is almost always a downspout blockage, not a guard problem, but it still needs immediate attention.
Gutter guards are not a “set it and forget it” solution. Fine debris, pollen, and shingle grit accumulate on the guard surface even when nothing penetrates into the channel below. A guard that looks clean from the street may be shedding water over the edge instead of directing it in.
Step-by-step: how to clean gutter guards safely
Start from the ground. Walk the full length of the gutter line and note any sections with visible debris buildup, sagging, or separation from the fascia. Only proceed to hands-on cleaning if you’re comfortable with the height and the roof pitch is manageable. Baker Home Exteriors recommends a soft-bristled brush and a garden hose with a nozzle as the core tools, and they’re right to keep it simple.
Follow these steps in order:
- Remove loose surface debris first. Use an extension-pole brush or a leaf blower with a concentrator nozzle to clear leaves, needles, and pollen from the top of the guards before you introduce water. Wet debris is heavier and harder to move.
- Rinse with a garden hose at moderate pressure. Work from the far end of the gutter toward the downspout. A curved gutter-cleaning wand attachment lets you do this from the ground on single-story homes.
- Open and flush the downspouts. Feed the hose directly into the downspout opening and run it at full flow for 30 seconds. If water backs up instead of draining, the downspout is blocked and needs a plumber’s snake or a downspout-clearing attachment.
- Re-check the guard surface and attachments. Look for sections that have lifted, bent, or separated from the gutter lip. Loose guards let debris bypass the system entirely.
- Verify flow at the outlet. Run the hose into the gutter one more time and confirm water exits cleanly at the downspout base. Slow drainage means a partial blockage remains.
What to avoid:
- Pressure washers. High-pressure spray bends mesh guards, blows foam inserts out of position, and can force water under shingles.
- Sharp metal tools. A putty knife or screwdriver dragged across a mesh guard tears the screen and creates gaps.
- Stepping on the guards. They are not load-bearing. Even a brief step can crush the profile and break the seal against the gutter lip.
Pro Tip: Slip a pair of old pantyhose over the downspout outlet before you flush. It catches debris that exits during rinsing, so you can see exactly what’s been sitting in the system.
Slow drainage after flushing, pooling at the foundation, or water stains on the fascia board are all signs the job needs a second pass or professional attention.
The best ladder-free tools for cleaning gutter guards
Most single-story gutter guard cleaning can be done without leaving the ground. The right tools make the difference.
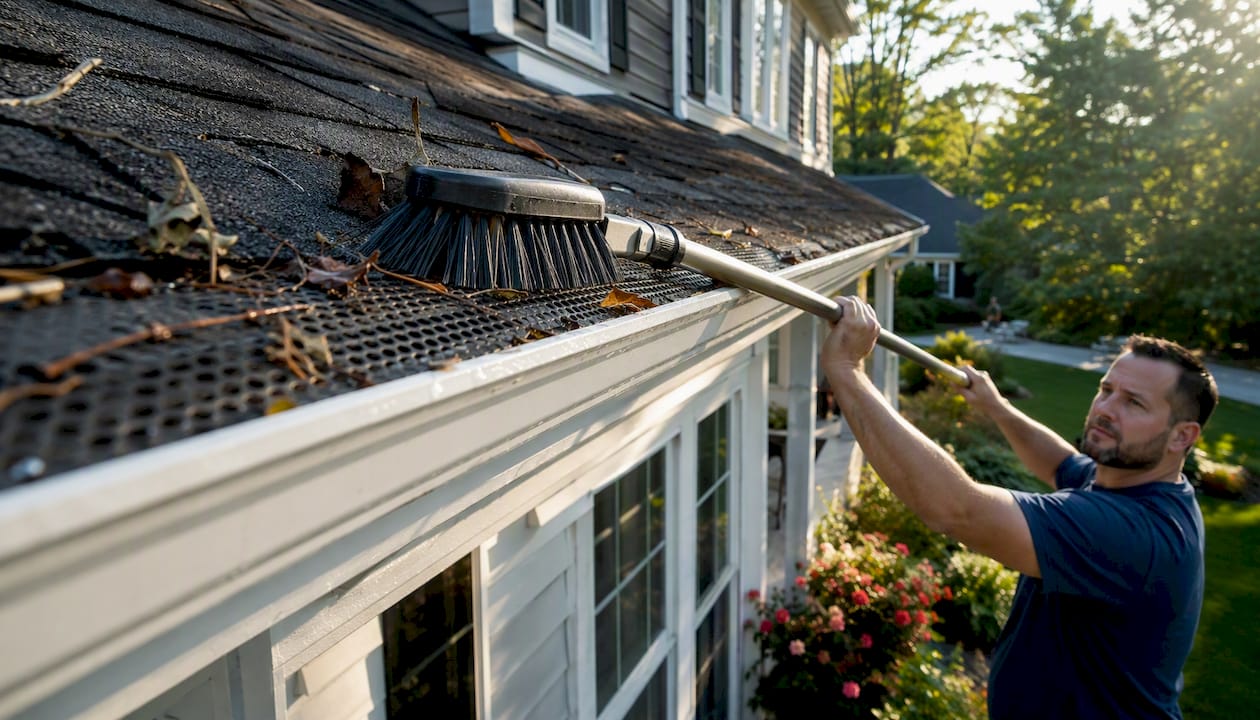
- Extension-pole brushes. A telescoping pole (12–24 feet) fitted with a soft-bristled brush head sweeps debris off the guard surface without bending the material. The Gutter Guard by Gutterglove 11 in. Gutter Guard Brush is a purpose-built option available at Home Depot, designed to fit inside the gutter channel for brush-style guard maintenance.
- Telescoping leaf blowers. A standard leaf blower fitted with a gutter-cleaning kit (a curved tube attachment) blows dry debris off the guard surface from below. Works best on dry days with light leaf or pollen accumulation. Less effective on wet, matted debris.
- Gutter-cleaning wand attachments. These curved hose attachments hook over the gutter edge and let you rinse from the ground. Pair one with a garden hose and a high-flow nozzle for the rinse step. Look for a U-shaped wand with a 270-degree arc so you can direct water along the channel, not just straight down.
- Wet/dry shop vacuum with a gutter kit. For fine debris like shingle grit and pollen that won’t blow or rinse easily, a vacuum with a gutter attachment pulls material out without spreading it across the roof or siding.
Match the tool to the debris type: dry leaves and pine needles respond to a blower; pollen and grit need a rinse or vacuum; wet, matted leaves need a brush first, then a rinse.
Pro Tip: After each use, rinse brush heads and wand attachments and hang them to dry. Debris left in the bristles molds quickly and transfers back to the guards on the next cleaning.
How maintenance needs differ by gutter guard type
Not all guards behave the same way, and the type you have determines how often you’ll be out there and which tools you’ll reach for.
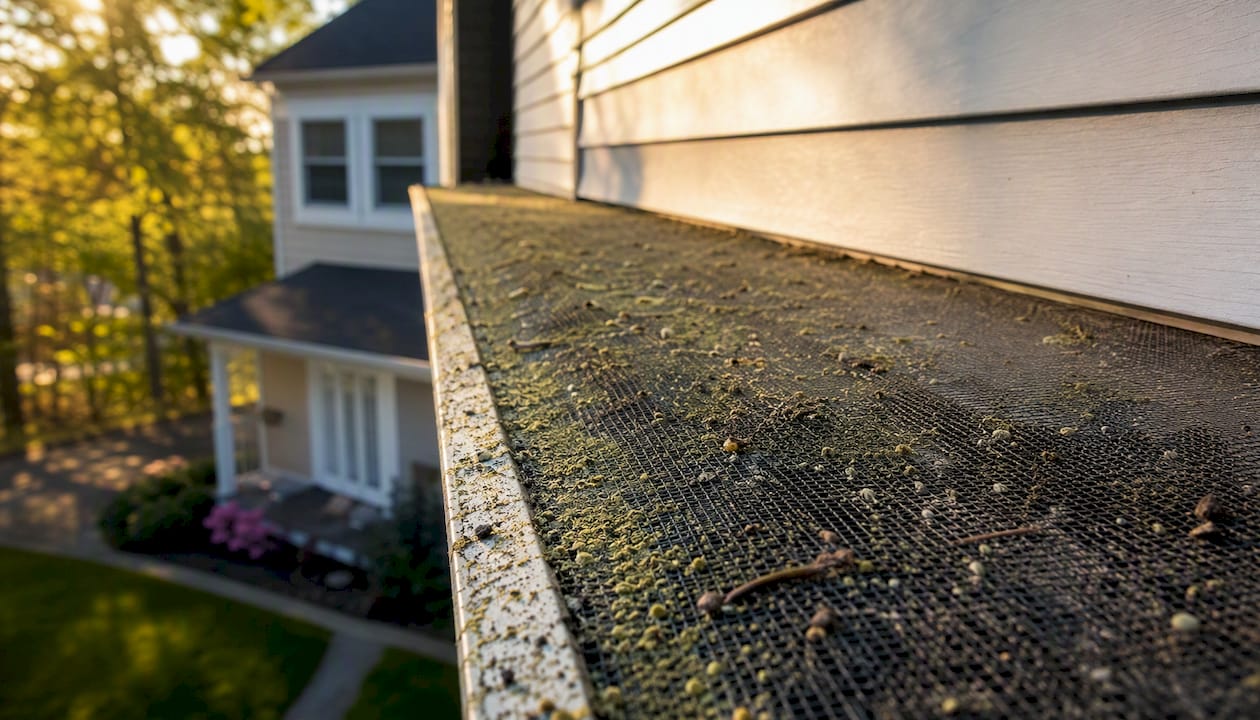
Mesh guards (micro-mesh and standard screen) catch the widest range of debris but accumulate pollen and shingle grit on the surface. They rarely need removal for cleaning, but the surface rinse is non-negotiable. Micro-mesh in particular can develop a biofilm layer that reduces flow over time.
Brush guards (bristle inserts that sit inside the gutter channel) are the most DIY-friendly and handle pine needles well, but debris tangles in the bristles rather than shedding off. They need more frequent brushing than any other type. Best suited to dry or moderate climates.
Foam guards (porous foam inserts) let water pass through but trap fine debris inside the foam itself. Over time, moss and algae grow inside the material. Replacement rather than cleaning is often the practical answer after a few years.
Surface-tension/helmet guards shed large debris well but can allow fine debris to enter the channel at the nose. MasterShield notes that some systems fixed under shingles may require professional removal for thorough cleaning, and attempting DIY removal risks the roofing seal.
| Guard type | Avg. installed cost (per linear ft.) | Expected lifespan | Recommended cleaning tool |
|---|---|---|---|
| Brush insert | $100–$250 | a few years | Extension-pole brush |
| Mesh/micro-mesh | $100–$250 | 10–20 years | Hose wand + soft brush |
| Surface-tension/helmet | $100–$250 | two decades or more | Professional removal/refit |
| Foam insert | Not publicly listed | a few years | Replace when degraded |
Cost figures sourced from This Old House’s comparative testing.
Safety checklist and common mistakes to avoid
Falls from ladders are among the leading causes of home-improvement injuries in the United States. Before you climb anything, run through this checklist.
Ladder safety basics:
- Set the ladder at a 75-degree angle (one foot out for every four feet of height).
- Plant the feet on firm, level ground. Never on soft soil or a sloped driveway.
- Have a spotter hold the base whenever you’re above the second rung.
- Never lean sideways. Move the ladder instead.
When not to climb at all:
- Two-story or higher rooflines.
- Wet or icy conditions.
- Steep roof pitch (anything above 6:12 slope is genuinely hazardous without proper equipment).
- Any sign of structural damage to the fascia or soffit.
PPE you should always wear:
- Nitrile or rubber gloves (gutter debris carries mold, bacteria, and sharp debris).
- Safety glasses or goggles (debris falls when you disturb it).
- Long sleeves and closed-toe shoes with grip soles.
Pro Tip: If you’re hesitating about whether the job is safe to DIY, that hesitation is the answer. A professional gutter cleaning costs far less than an ER visit.
The three most common guard-damaging mistakes: using a pressure washer, prying guards with metal tools, and stepping on the guard surface. All three are avoidable with the right tools described above.
When to call a professional for gutter guard service
Some jobs belong with a pro from the start. GlobalVac’s field reporting confirms that persistent overflow after surface cleaning usually points to compacted material, guard movement, or downspout blockage that surface tools can’t reach.
Hire a pro when:
- Your home is two stories or taller.
- The roof pitch makes ladder work unsafe.
- Overflow continues after you’ve cleaned the surface and flushed the downspouts.
- Guards have lifted, bent, or separated from the gutter lip.
- You see water staining on the fascia, soffit, or foundation.
- Guards are fixed under shingles and require professional removal to access the channel.
What a professional service typically includes:
- Full visual inspection of the guard system and gutter channel.
- Guard removal and refit where needed (critical for helmet-style systems).
- Vacuuming or soft-wash clearing of the channel and guard surface.
- Downspout flushing and clearing.
- Minor repairs: resealing end caps, reattaching loose sections, replacing damaged guard segments.
Ballpark cost ranges vary by region, home size, and guard type. A one-time professional gutter cleaning for a single-story home typically runs $100–$250. Two-story homes with guard removal/refit can run $250–$500 or more. Maintenance plans (two visits per year) often cost less per visit than one-time calls. For professional gutter installation guidance and what to expect from a contractor agreement, REPS of Texas offers a useful reference point.
Before you hire, confirm:
- Licensed and insured (ask for the certificate).
- Written estimate before work begins.
- Clear scope: does the quote include guard removal/refit or just surface cleaning?
- Warranty or satisfaction guarantee on the work.
Pro Tip: Ask specifically whether the quote covers downspout clearing. Many low-price quotes exclude it, and a blocked downspout is usually the root cause of overflow.
What professionals actually see most often
The homeowners who call us after a problem has developed almost always share one thing: they assumed the guards meant the gutters were handled. That assumption is understandable. The marketing around gutter guards leans hard on “maintenance-free,” and it’s not accurate.
The most common failure pattern isn’t a dramatic blockage. It’s a slow accumulation of pollen and shingle grit on the guard surface that gradually reduces flow until the first heavy rain of the season sends water over the front edge instead of through the downspout. By then, the fascia board behind the gutter has been wet-cycling for months.
The simplest preventive step most homeowners skip: pair your gutter guard check with something you already do seasonally. Check the guards when you change the HVAC filter, when you put the garden hose away for winter, or when you clean the gutters on your dryer vent. Attaching it to an existing habit is the only thing that makes it actually happen.
Capital Pro Pressure Washing handles what you shouldn’t DIY
Two-story rooflines, steep pitches, helmet-style guards fixed under shingles, and persistent overflow after surface cleaning are exactly the situations where DIY stops making sense. Capital Pro Pressure Washing is a veteran-owned exterior cleaning company serving Albany and the Capital Region of New York, with over 10 years handling gutter cleaning and gutter guard maintenance for local homeowners.

The crew uses soft-wash techniques that clear debris without bending guards or forcing water under shingles. Every job includes a full inspection, downspout flushing, and a check of guard attachments. For homes where roof shingle grit is a recurring problem, Capital Pro also offers roof washing as a combined service that addresses the source of the debris, not just the symptom. Request a free estimate at Capitalpropressurewashing and get a written quote before any work begins.
Sources
- Types of gutter guards — This Old House
- 11 in. Gutter Guard Brush — The Home Depot
- The Complete Guide to Gutter Guards: Debunking the Myth of Maintenance-Free Living — Quality First Home Improvement
- How to Clean Gutter Guards Without Damaging Them — Baker Home Exteriors
- Blocked gutters with gutter guards — GlobalVac
- Gutter maintenance — MasterShield
FAQ
Do gutter guards eliminate the need to clean gutters?
No. Guards reduce how often you need to clean, but fine debris, pollen, and shingle grit still accumulate on the guard surface and require periodic removal. Plan on at least one or two light cleanings per year.
How often should gutter guards be cleaned?
The baseline is regularly each year: late spring and late fall. Homes near pine trees, under heavy tree canopy, or in storm-prone areas may need checks three or four times a year.
Do gutter guards get clogged?
Yes, though the failure mode depends on the guard type. Mesh guards collect surface debris and biofilm; brush guards tangle with needles and leaves; foam guards trap fine debris inside the material itself. None are immune to blockage.
When should I call a pro instead of cleaning guards myself?
Call a professional when your home is two stories or taller, when overflow continues after you’ve cleaned the surface and flushed the downspouts, or when guards are fixed under shingles and require removal to access the gutter channel.
Recommended
Services Related To This Article
Need a quote in the Capital Region?
Fast, free estimates from a local, licensed & insured team.
